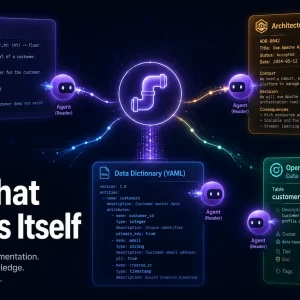
Connecting the Brain to the World—Integrating Vertex AI and WordPress APIs
⏱️ TL;DR
- The Goal: Connect our abstract LangGraph “brain” to external APIs so it can generate and publish content.
- Security & Governance First: We establish strict safety thresholds in Vertex AI to defend against prompt injections and ensure responsible autonomy.
- Zero-Trust CMS Integration: We tackle the WordPress REST API’s two-step media upload process using scoped Application Passwords, protecting your primary domain credentials.
- Enterprise Resiliency: We use the Python
tenacitylibrary to wrap our API calls in exponential backoff retries, ensuring the agent survives network hiccups.
📑 Table of Contents
- Introduction: From Abstract Nodes to Real-World Actions
- 1. Powering the Cognitive Engine: Vertex AI Integration
- 2. 🛡️ Enterprise Security & AI Governance
- 3. The Canvas: Mastering the WordPress REST API
- 4. 🔐 Zero-Trust API Integrations
- 5. Enterprise Resiliency: Handling the “Messy Reality”
- Conclusion
Introduction: From Abstract Nodes to Real-World Actions
In Part 2 of this series, we successfully designed the “brain” of our autonomous content agent. We mapped out an iterative LangGraph workflow, defined our shared AgentState memory, and established a strict, sequential end-stage to prevent race conditions during the final publication steps.
However, an AI brain floating in a digital jar—without sensory input or hands to manipulate its environment—cannot accomplish much. Abstract Python nodes are useless until they can interact with external systems.
In this article, we dive deep into the integration layer. We will take our abstract LangGraph nodes and wire them up to the real world. Specifically, we will connect our agent to Google Vertex AI for enterprise-grade content generation, and the WordPress REST API for headless publication.
1. Powering the Cognitive Engine: Vertex AI Integration
To give our writer_node and critic_node the ability to reason, analyze, and generate text, we rely on Google’s foundation models. While you could use the public consumer APIs, building an enterprise autonomous agent demands the security, data privacy, and IAM (Identity and Access Management) controls provided by Google Cloud Vertex AI.
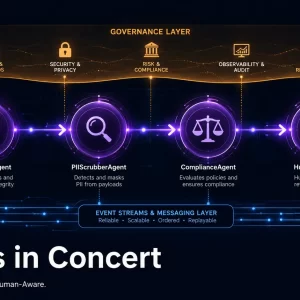
2. 🛡️ Enterprise Security & AI Governance
Defending the Cognitive Engine
When deploying autonomous agents, governance isn’t an afterthought—it is the foundation. Without strict guardrails, your agent is vulnerable to prompt injection and adversarial attacks.
In an enterprise setting, proactive AI governance is critical. Before subjecting the agent pipeline to formal adversarial testing or automated red-teaming frameworks, you must establish baseline model-level guardrails. Vertex AI provides these native content filtering controls to ensure your agent cannot be manipulated into generating malicious, harmful, or brand-damaging code and content.
Initializing the Enterprise LLM
Before we write the node logic, we need to initialize our language model, enforcing those exact safety thresholds we just discussed.
from langchain_google_vertexai import ChatVertexAI, HarmCategory, HarmBlockThreshold
from langchain_core.prompts import ChatPromptTemplate
from langchain_core.output_parsers import StrOutputParser

# 🛡️ STRICT GOVERNANCE: Define safety guardrails for the agent
safety_config = {
    HarmCategory.HARM_CATEGORY_HATE_SPEECH: HarmBlockThreshold.BLOCK_LOW_AND_ABOVE,
    HarmCategory.HARM_CATEGORY_DANGEROUS_CONTENT: HarmBlockThreshold.BLOCK_LOW_AND_ABOVE,
    HarmCategory.HARM_CATEGORY_HARASSMENT: HarmBlockThreshold.BLOCK_LOW_AND_ABOVE,
}

# Initialize the Gemini model with locked-down settings
llm = ChatVertexAI(
    model_name="gemini-2.5-pro",
    temperature=0.7,
    max_output_tokens=8192,
    safety_settings=safety_config
)
With the LLM initialized, we can flesh out the writer_node. This function takes the current AgentState, extracts the user’s topic and requested style guide, feeds it to Gemini through a structured prompt, and updates the state with the newly generated HTML draft.

3. The Canvas: Mastering the WordPress REST API
Generating brilliant HTML content safely is only half the battle. Our agent must successfully authenticate, navigate your domain’s architecture, and push the final package to your Content Management System (CMS).
Connecting to WordPress to publish a fully illustrated article requires a strict, two-step sequence:
- The Media Step: Upload the raw image bytes to the
/wp/v2/mediaendpoint, retrieve its newly assigned internal WordPress Media ID, and store that ID in your LangGraph state. - The Post Step: Then, send the HTML text to the
/wp/v2/postsendpoint, attaching that specific Media ID to thefeatured_mediaparameter.
4. 🔐 Zero-Trust API Integrations
The Principle of Least Privilege
Never, under any circumstances, hardcode your primary WordPress administrator password into your Python scripts or Docker environments. If your agent’s state or environment variables leak, an attacker would gain full control of learnwithneeraj.com.
Instead, we use Application Passwords (generated in the WordPress dashboard). These are scoped, easily auditable tokens that can be instantly revoked with one click if your agent’s environment is ever compromised.
Implementing the Publishing Nodes
Notice how we enforce our Human-in-the-Loop (HITL) governance policy in the code below by hardcoding the WordPress post status to "draft". Autonomous agents should propose content; humans should click publish.
import requests
from requests.auth import HTTPBasicAuth
import os

def draft_node(state: AgentState):
    """Pushes the finalized state to the WordPress REST API securely."""
    print("--- 📝 EXECUTING DRAFT NODE (POST CREATION) ---")

    WP_POSTS_URL = "https://learnwithneeraj.com/wp-json/wp/v2/posts"

    # 🔐 SECURE AUTHENTICATION: Using scoped Application Passwords
    auth = HTTPBasicAuth(os.getenv("WP_USER"), os.getenv("WP_APP_PASSWORD"))

    # Construct the payload using the finalized AgentState
    payload = {
        "title": state["topic"],
        "content": state["content_html"],
        "status": "draft", # 🛡️ GOVERNANCE: Agents never publish directly
        "categories": [3],
    }

    # Attach the featured image if the Artist Node was successful
    if state.get("wp_media_id"):
        payload["featured_media"] = state["wp_media_id"]

    try:
        response = requests.post(WP_POSTS_URL, json=payload, auth=auth, timeout=15)
        response.raise_for_status()

        post_url = response.json().get('link')
        return {"feedback": f"Published successfully. Waiting for Human Review at {post_url}"}

    except requests.exceptions.RequestException as e:
        return {"feedback": "Failed to upload to CMS."}
5. Enterprise Resiliency: Handling the “Messy Reality”
When engineering systems that rely heavily on external APIs, you must design for failure. The script above works perfectly in a vacuum. However, in the real world, Google Vertex AI might hit a sudden rate limit (HTTP 429), or your WordPress server might experience a database timeout.
If your LangGraph node crashes mid-execution due to an unhandled TimeoutError, the entire agent state is lost. This is unacceptable for enterprise software.
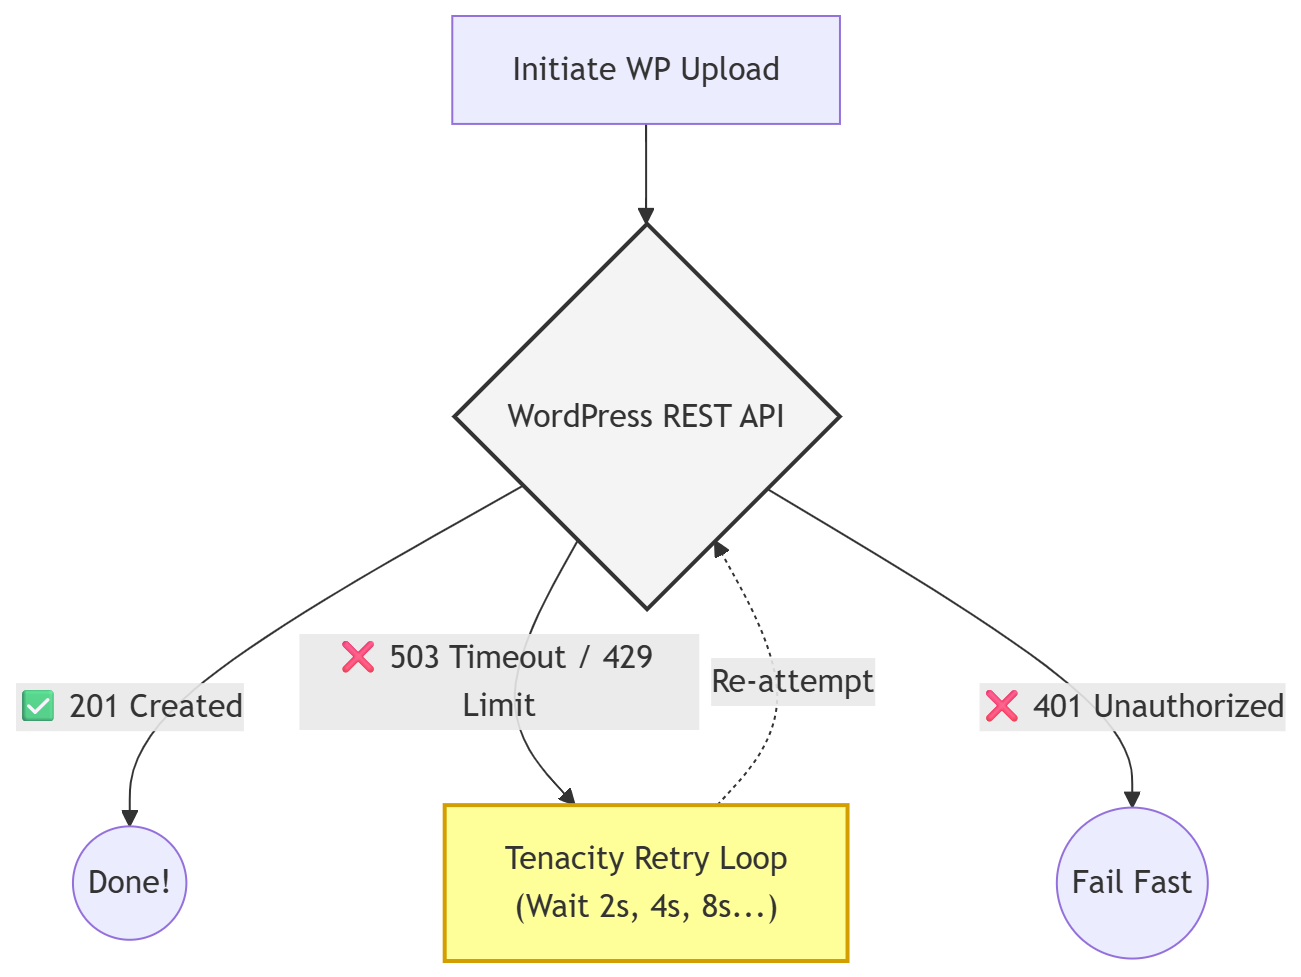
Making the Agent Bulletproof with Tenacity
By using the Python tenacity library, we instruct our node to automatically retry the WordPress upload up to 5 times, waiting exponentially longer between each attempt, but only if the failure was a network or server-side error.
from tenacity import retry, wait_exponential, stop_after_attempt, retry_if_exception_type

# Retry up to 5 times, waiting 2^x * 1 seconds between each retry.
@retry(
    wait=wait_exponential(multiplier=1, min=2, max=10),
    stop=stop_after_attempt(5),
    retry=retry_if_exception_type(requests.exceptions.RequestException)
)
def reliable_wp_upload(url, payload, auth):
    """A resilient wrapper for the WP API call."""
    response = requests.post(url, json=payload, auth=auth, timeout=15)
    response.raise_for_status()
    return response
Conclusion
We have successfully bridged the gap between our local Python environment, Google’s powerful foundation models, and our live WordPress site. Our LangGraph workflow is no longer an abstract concept—it is a functional, autonomous publishing engine capable of reasoning, creating, recovering from network failures, and adhering strictly to our security and governance protocols.
But currently, we are still running this entire operation from our local laptop terminal. A true enterprise system needs to live in the cloud, accessible from anywhere, and secured against unauthorized use.
In Part 4, we will take this application out of the local development environment. We will refactor our script into a true Microservices architecture, secure the user interface with Google OAuth 2.0 Identity Aware Proxy, and deploy the entire stateful stack to the cloud.
Enjoyed this article?
Get notified when the next one is published.
We send one email per new article — no spam, unsubscribe any time.
⚠️ Disclaimer: The information provided on LearnWithNeeraj.com regarding Astrology, Numerology, and other topics is for educational and guidance purposes only.
Not Professional Advice: This content should not be used as a substitute for professional medical, legal, or financial advice. Always consult a certified professional for specific concerns.
Guest Authors: This site features articles by various contributors. The views and interpretations expressed are those of the individual authors and do not necessarily reflect the views of the website administrator.
Your destiny is in your hands. Use this information as a map, not a mandate.